Setting up a booking page takes a few short steps. You'll tell us a little about what you do, add the first thing people can book if you like, choose how your page looks and pick a plan. Then you'll finish setting up from your dashboard and go live when you're ready. This guide is for anyone signing up for a Macadamia booking page for the first time.
Choose a booking page
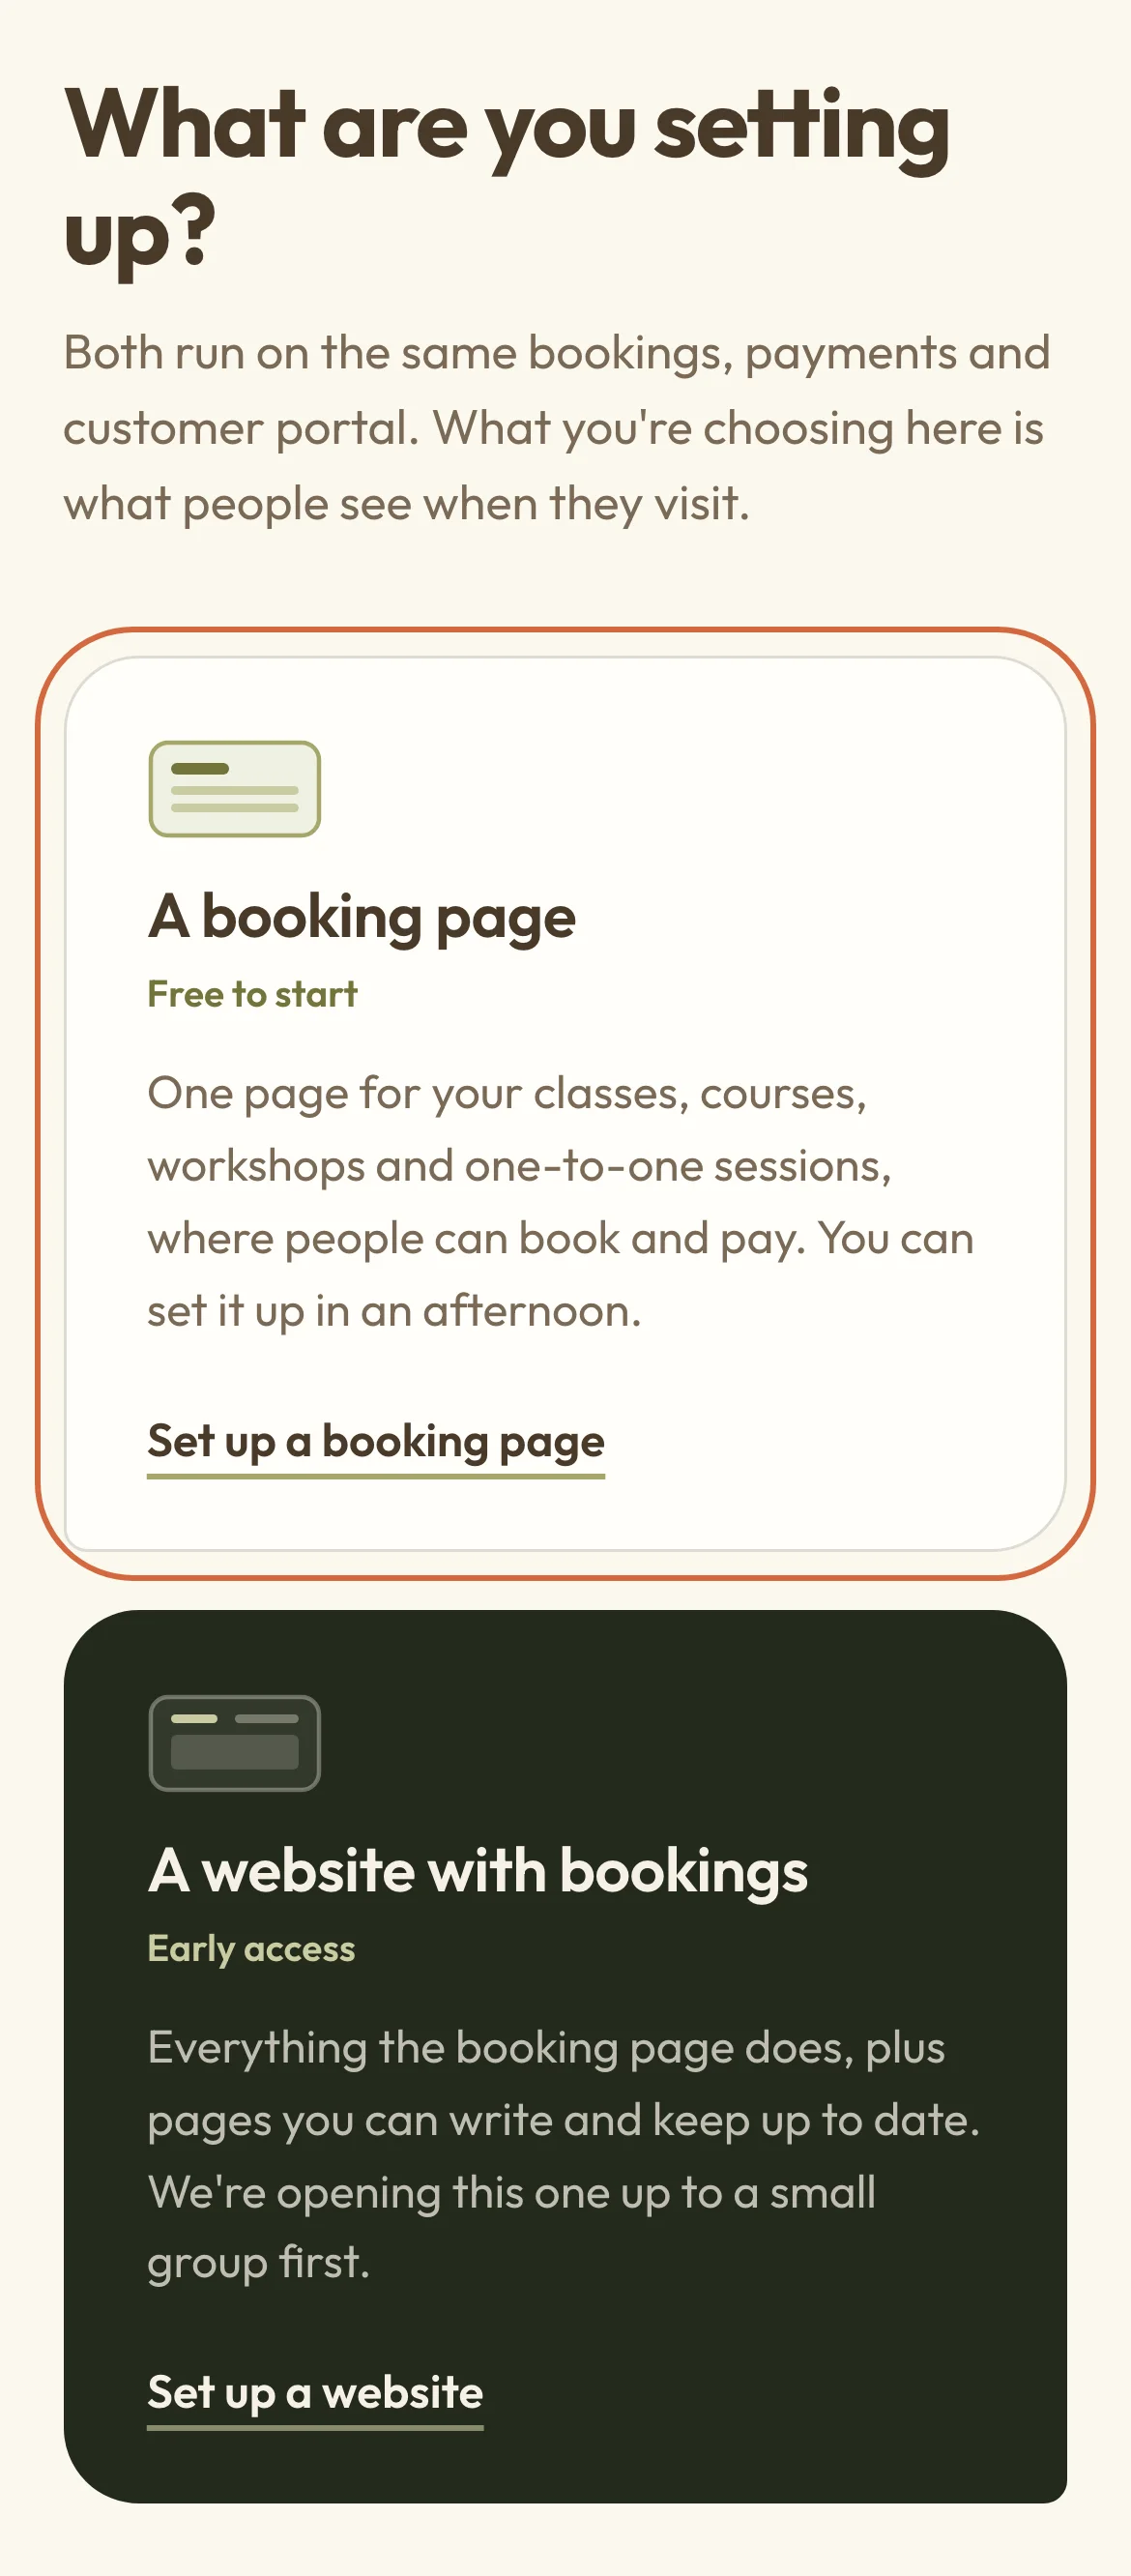
Go to the Macadamia sign-up page. The first screen asks What are you setting up? and gives you two options. Choose A booking page. It's one page for your classes, courses, workshops and one-to-one sessions, where people can book and pay.
 (opens the full-size picture in a new tab)
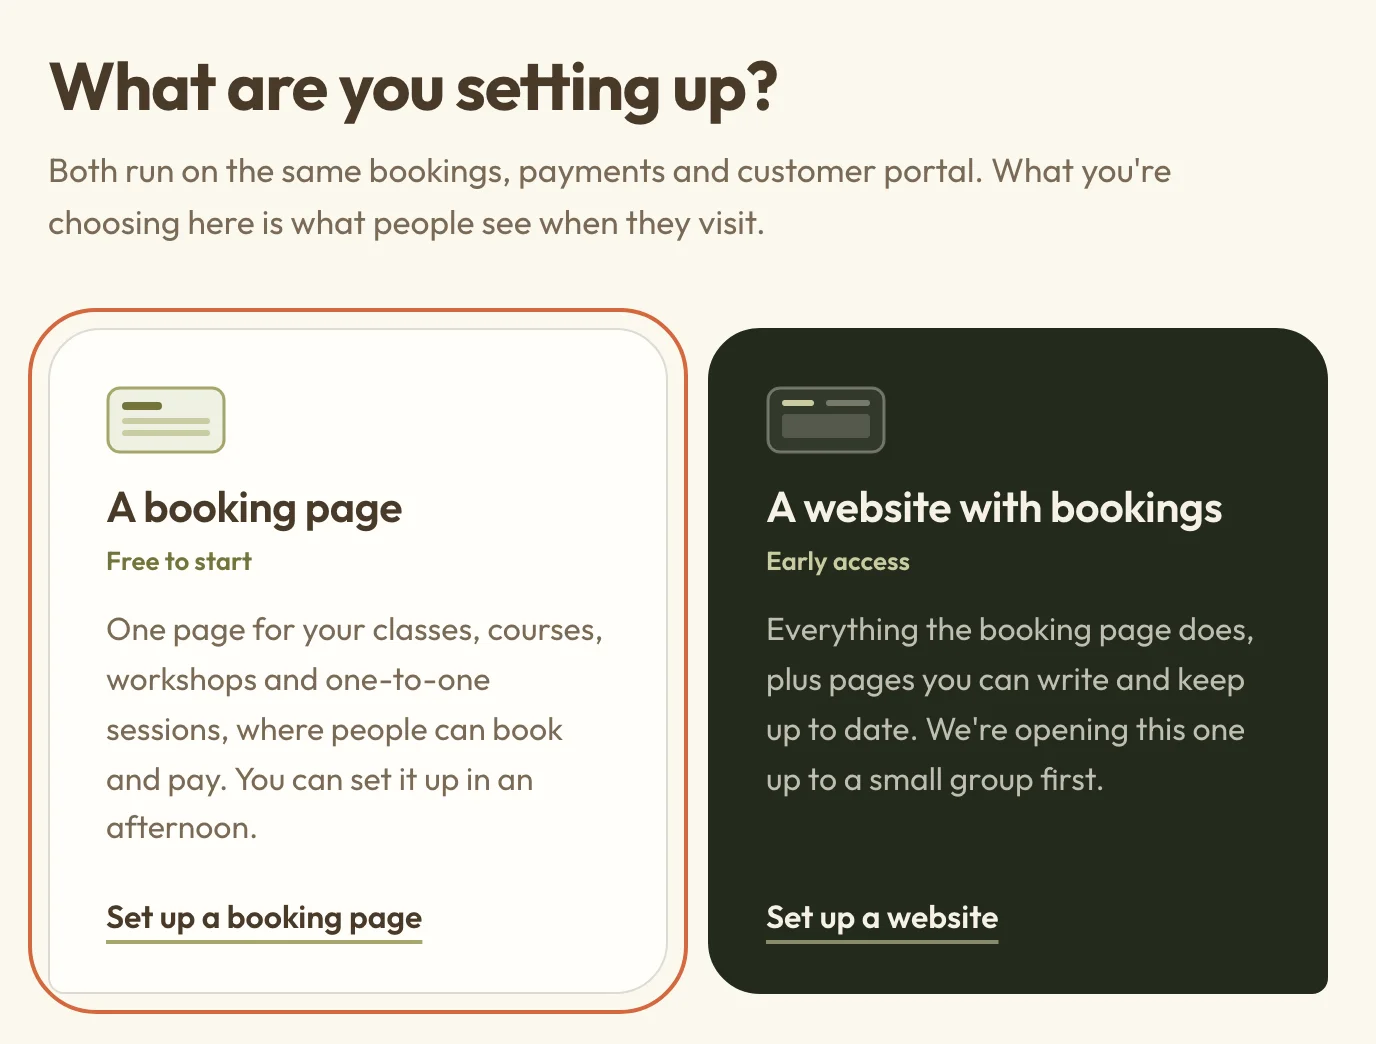 (opens the full-size picture in a new tab)Choose A booking page to get started.
Your answers are saved as you go, so if you need to stop partway you can usually pick up where you left off on the same device.
Tell us about what you do
Next comes Tell us about what you do. We use your answers to set up your booking page and the kinds of booking you take.
- What do you do? Open a group, such as Yoga, movement and dance, and pick everything you do. You can pick from as many groups as you like. If what you do isn't listed, type a few words under Something else?.
- Which is your main one? This only appears if what you picked spans quite different kinds of work, like yoga and massage. Pick the one you do most.
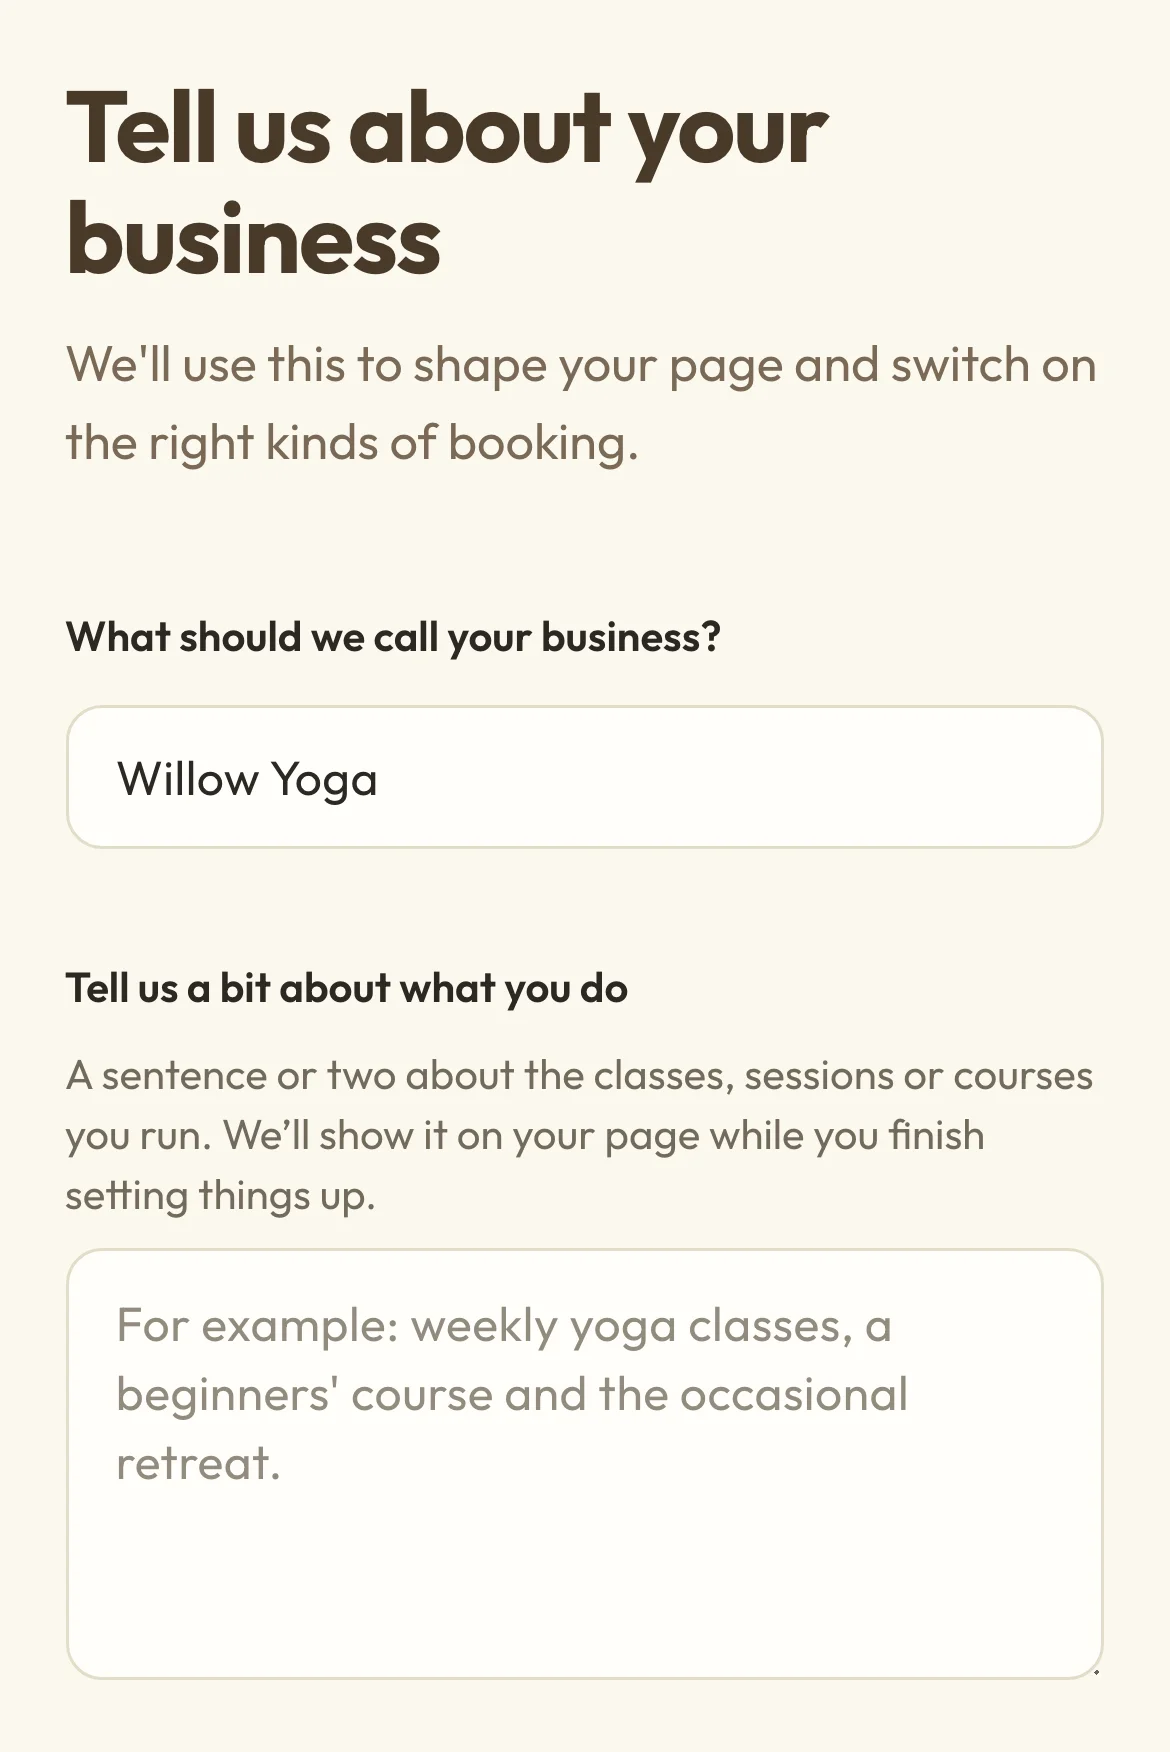
- What name should your booking page use? This is the name at the top of your page.
- How would you describe it to a new client? A sentence or two about your classes, sessions or courses. It shows on your page while you finish setting things up.
- What do you offer? We tick what usually goes with what you picked, such as Classes, Workshops or Private sessions. Change anything that isn't right. You can change this later too.
- How many of you are there? Choose Just me or A team.
The rest of the questions appear once you've answered What do you do?.
Check your country, time zone and currency
On the Tell us about what you do step, underneath the questions, there's a line showing your country, time zone and currency. Macadamia takes bookings in pounds for UK businesses at the moment, so it's mostly the time zone you might need to check. Choose Change to fix anything, then Continue.
 (opens the full-size picture in a new tab)
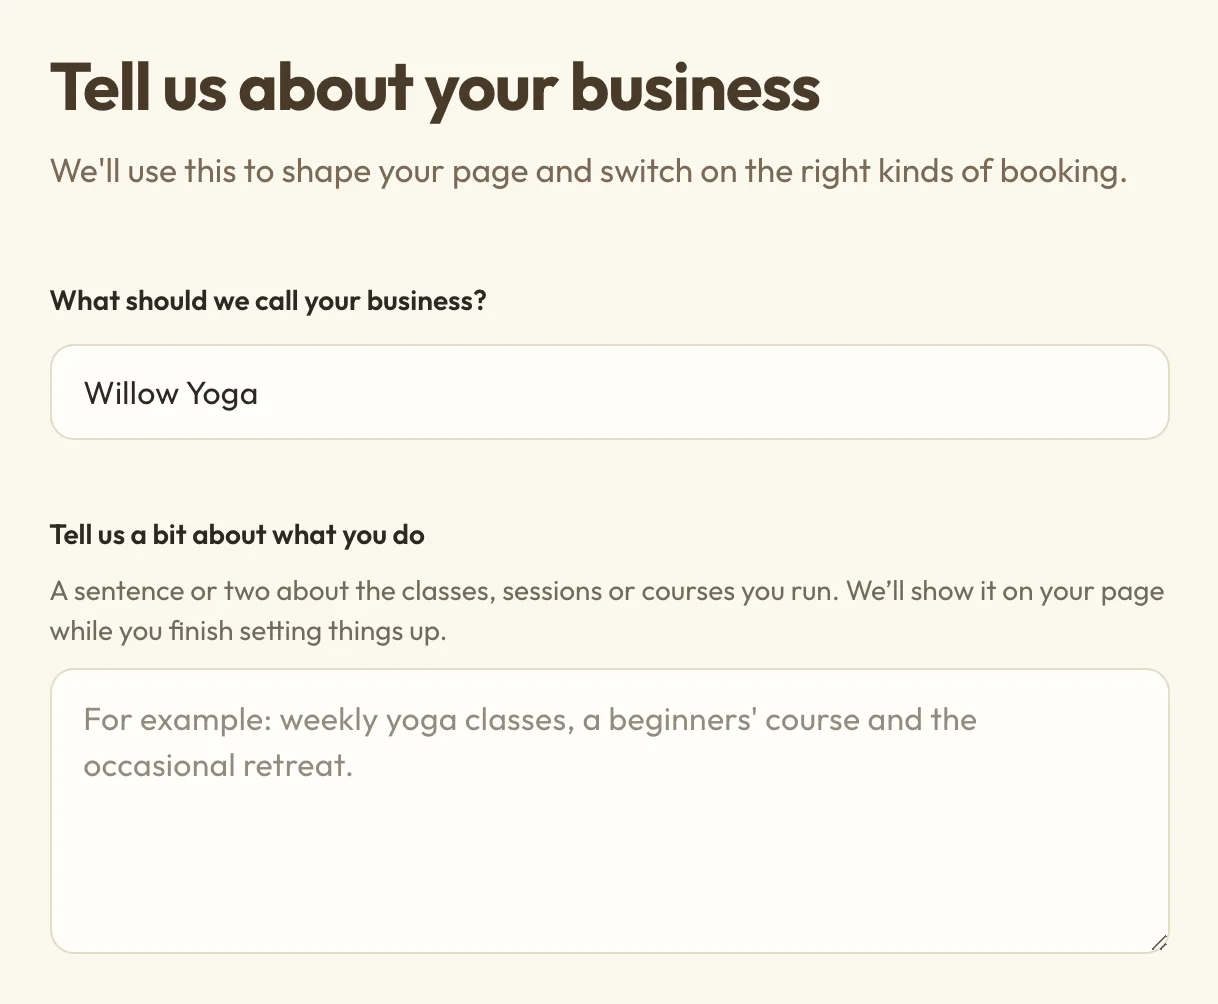 (opens the full-size picture in a new tab)Pick what you do first, then your name and a sentence or two about it.
You can change the time zone later too. See Set your booking basics and time zone.
Add how people can reach you
How people reach you is optional, and anything you add here shows on your page. You can add:
- An email people can contact you on. It's shown on your page and in booking emails, so people know how to get in touch. It doesn't have to be the one you sign in with, so pick one you check often. Where replies to your booking emails go is a separate setting, covered in Change your email sender and templates.
- A phone number.
- Your logo, and a cover photo to go across the top of your page.
Wait for your logo or cover photo to finish uploading before choosing Continue. When setup finishes, your uploaded logo and cover photo are saved in your media library and selected for your page. If setup shows an error, follow the message to try again.
You can change your name, logo and cover later from SettingsGeneral, and your email and phone number from SettingsBusiness details. See Change your booking page's name, logo and cover photo.
Set up your first offering
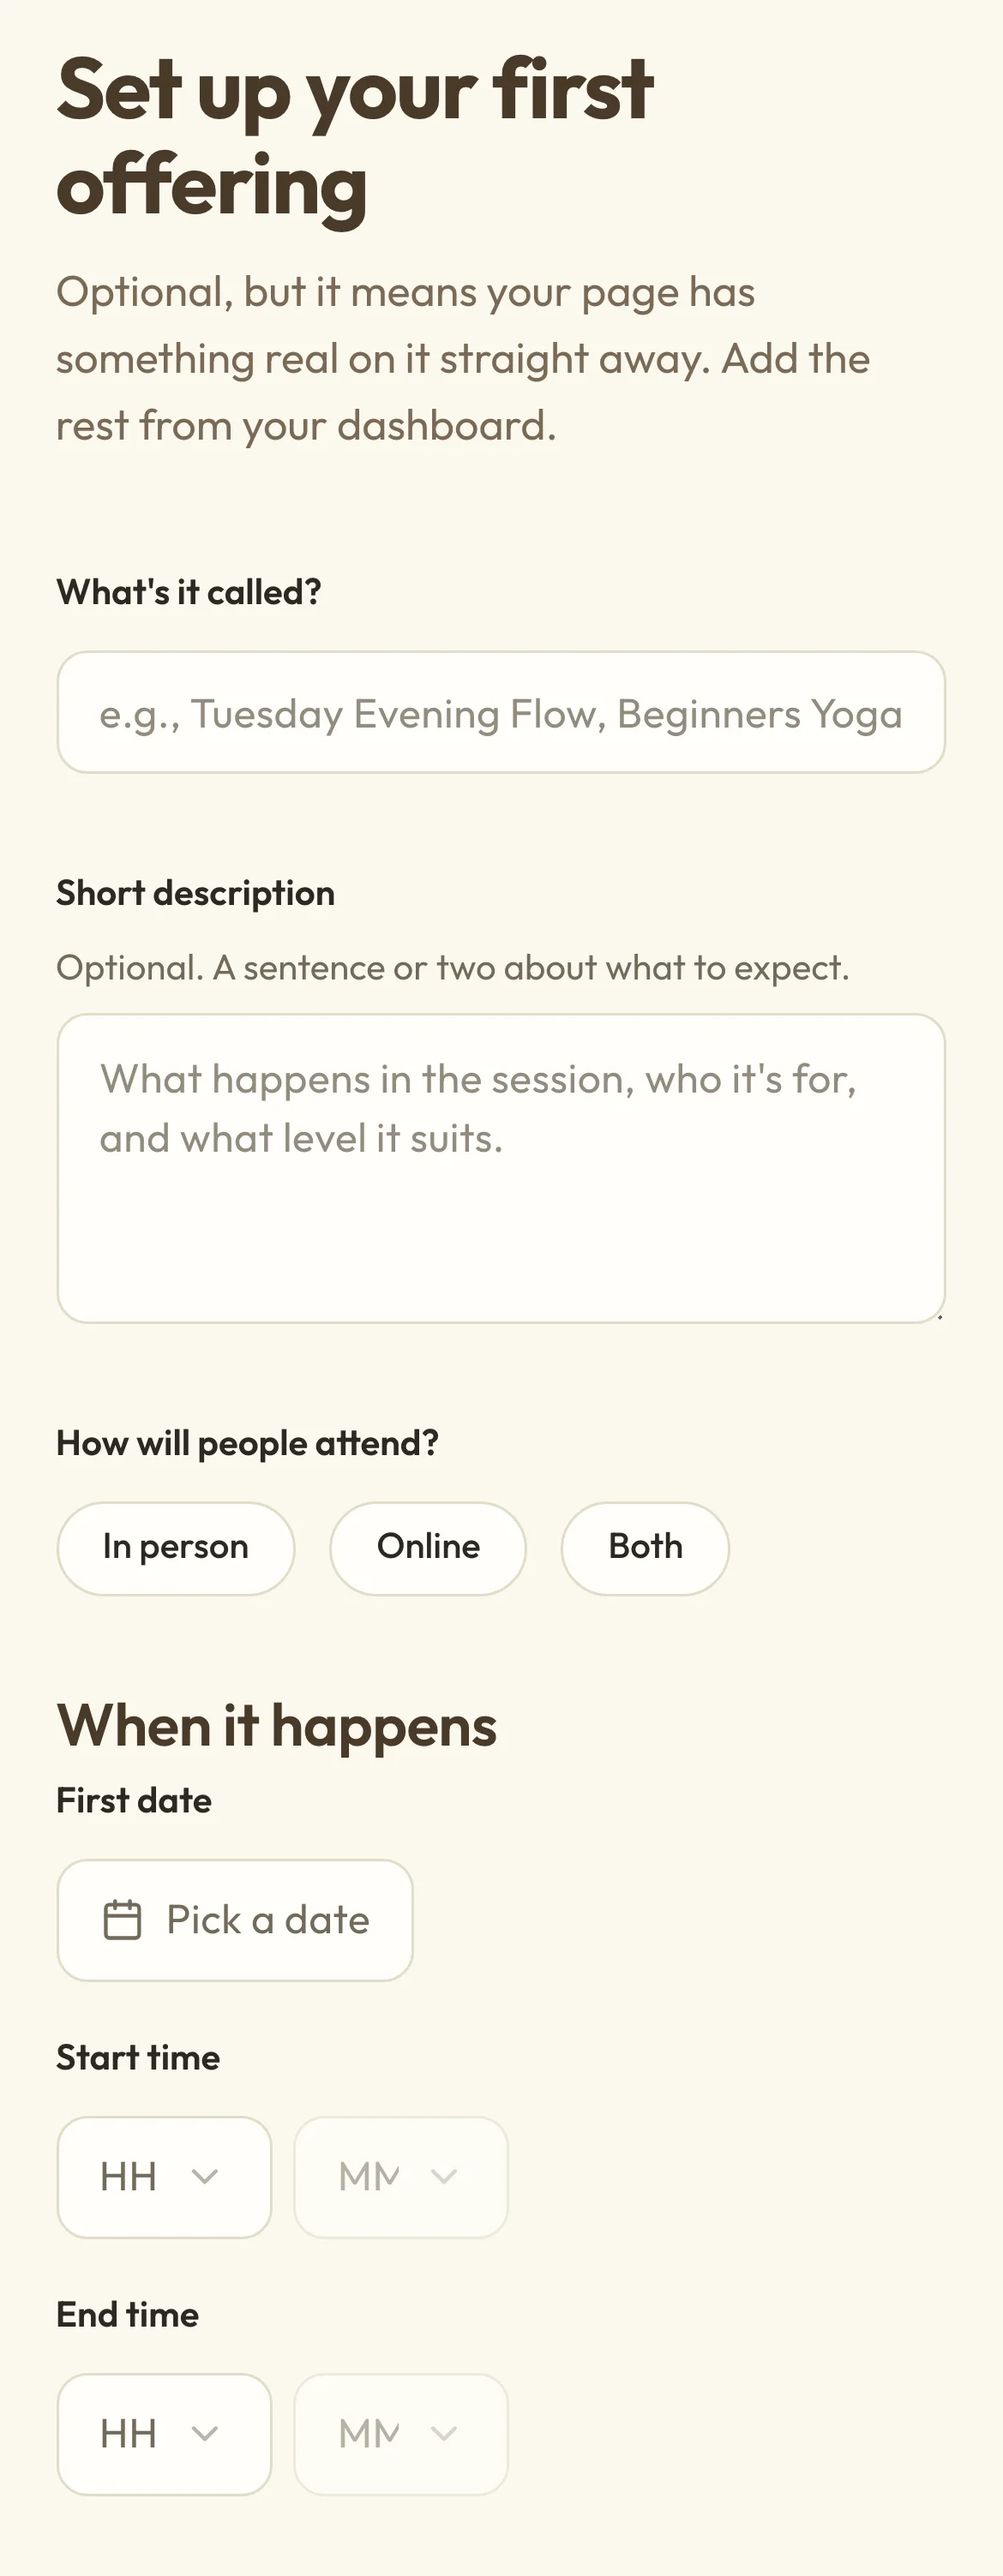
Set up your first offering lets you add one thing people can book, so your page isn't empty on day one. The details it asks for depend on what it is. For a class, you'll give it a name and a short description, say whether people attend in person, online or both, and set the first date and the times it starts and ends. A workshop or retreat that runs over more than a day can have an end date too.
 (opens the full-size picture in a new tab)
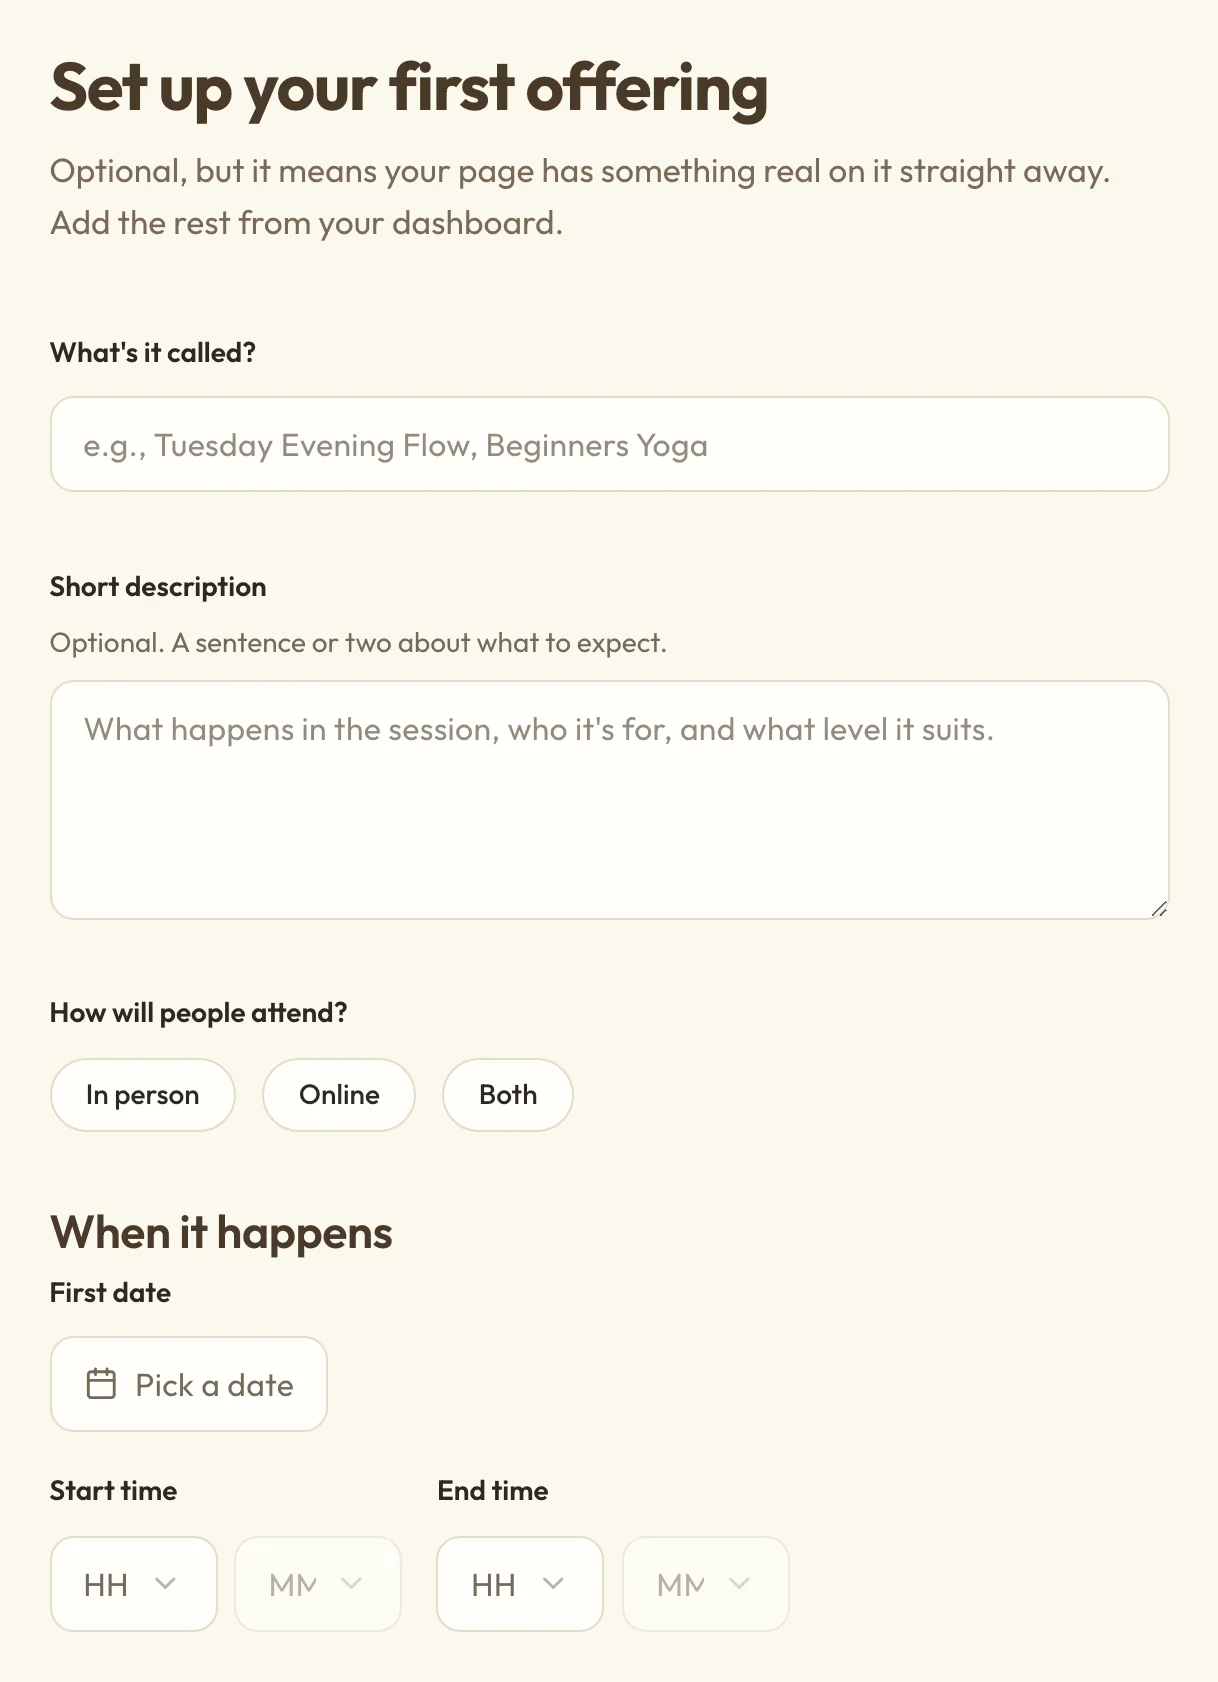 (opens the full-size picture in a new tab)The first fields for a class, down to when it starts and ends.
This step is optional. If you'd rather do it from your dashboard, choose Add later. The guides Add a class and Add an appointment service walk you through it.
Choose how your page looks
Next, on Here's your page (marked How it looks in the steps along the top), you'll see your real page with your name and details on it. Beside it are three panels, Look, Colours and Fonts. Choose Change on any of them to try something different, and the page updates as you go. You can also add or change your cover photo here, on the page itself. Choose Edit crop and focus to keep the important part of the photo in view. The same focus is used on phones and larger screens.
Under the panels, you can add The line under your name. It's a few words about what you do, and it appears at the top of your page.
There's nothing you have to do on this step. If you're happy with how it looks, choose Continue.
You can change all of this later from Your page. See Change how your booking page looks.
Choose your plan
On Choose your plan, you'll see the plans that fit what you've told us. You can start on Free, or choose a paid plan, which starts with a 30-day trial.
If you said you're a team, the plans for one person are greyed out underneath. If it's mostly just you, you can still pick one with the Choose Core anyway or Choose Free anyway button on its card, and we'll change your answer to Just me. We'll also ask what name clients should use for you, if we don't have it yet.
Paid plans need a card, and you'll add it after you've confirmed your email. Your trial starts when you add your card. Your first payment is taken when your page goes live or the trial ends, whichever comes first. If you'd rather not add a card at that point, you can carry on with Free instead.
You can switch plans later. See Change your plan and billing.
Create your account
On Almost done, create your account with your full name, email address and a password, then agree to the terms and choose Create account.
We'll send you an email with a link. Open it to confirm your address. If the email hasn't arrived after a few minutes, it's worth checking your spam folder.
The link works for an hour. To keep the password you chose, open it in the browser you signed up in. If you open it somewhere else, you'll still get in, and we'll ask you to choose a password again, so that only you can set one.
If you chose a paid plan, you'll be asked to add a card next. Then we'll take you to your dashboard, where your page is waiting.
Find your booking home
Your booking home is the first place to look whenever you sign in. You'll find it at Home.
At the top, under Your page is at, is your page's web address. Preview your page opens it in a new tab so you can see it the way clients will. Until you go live, only you can see it. Once you're live, the same link says Open your page.
Copy link copies the address, ready to paste into a message or your social media bio. You can copy it before you go live, but people who open it won't see your page until you do.
Change your booking page address
Before you go live, an owner or administrator can change the address. On your booking home, choose Change beside the address, type the part you'd like under Your address, and choose Save address. The end of the address stays the same.
If the address you want is taken or can't be used, you'll see a message saying why, so try another.
Once you're live, the address is fixed, so any links you've shared keep working. If you'd like your own web address instead, see Use your own domain for your booking page.
Work through what's next
On your booking home, below the address, is a list called What's next. Each item has a button that takes you straight to the right place. Anything marked Needed to go live has to be done before you can launch. Until you go live, finished items stay on the list, ticked off, so you can see what's left.
Only two things can hold a booking page back:
- Confirm your email, if you haven't opened the link we sent yet.
- Set up payments, if anything you offer takes payment online. Free bookings and ones people pay for in person don't need it. If you've started connecting Stripe but it still needs something from you, you'll see Finish setting up payments instead. See Set up online payments.
Optional items on your list
The rest of the What's next list on your booking home is up to you. Depending on what you offer, it might suggest adding a service, choosing who offers it and setting your hours, or adding upcoming dates for your classes. It might also suggest a cover photo, a way for people to reach you, or a photo and a few words about you.
None of these stop you going live. You can even go live with nothing to book yet, and your page will say that people can book once something's been added.
Under the list, What people can book shows what's on your page so far, with links to change its price, edit its schedule or open all its settings.
Go live
When nothing is holding your page back, the status on your booking home changes to Ready to go live. Only an owner or administrator can go live. If you're on a paid plan's free trial, it has to be the person who pays for the plan, because going live takes the first payment.
Choose Go live, and you'll be asked to confirm. If you're on a paid plan's free trial, you're charged when you go live: it ends the trial and takes your first payment straight away, so the button will show the amount, such as Go live and pay £20. Choose Not yet if you'd rather wait.
Your page goes public as soon as it's confirmed, and people can book straight away. Going live doesn't email your clients, so let them know yourself.
If going live needs a payment step
When going live on a paid plan, your bank may ask you to confirm the payment, or we may ask for another card. Follow the steps on screen.
If you see Go live is blocked, read the message under it. It usually means a payment didn't go through or something on your list still needs doing. Your page isn't live yet, so sort out what it says and choose Go live again.
Closing the payment window doesn't mean you've gone live. Check your booking home. If it worked, it'll show that your page is live.
Your booking home once you're live
Once you're live, your booking home shows what's happening today and how your bookings are going, rather than the steps for getting ready.
Until someone books, your address stays at the top with Copy link, since sharing it is probably the quickest way to your first booking. What's next sits alongside it.
After your first booking, the day leads the page: anything that needs you, whatever's on now or next, then today and what else is coming up, with Your last 30 days and Recent activity alongside. Your address moves into a Your page card, with Copy link and Open, any steps you haven't done yet, and your plan. It's at the end of the right-hand column, or at the bottom on a phone. Find and move bookings explains how to use it to find someone's booking or see who's coming.
What people can book lists what's on your page. Choose one to open it, or open its menu to go straight to places like Change price, Add a ticket type or Edit schedule. See everything in Bookings opens your timetable, which also lists everything you offer.
Add something lets you start a weekly class, a course, a one-off event or appointments. A new class, course or event usually starts with the same venue and price as the first thing you set up, and you can change either as you go.
Share your link
Once you're live, choose Copy link on your booking home. Put the link wherever people ask how to book, like your Instagram bio, your email signature or a poster by the door.
To put booking on a website you already have, see Add booking to your website.