A course is a set of sessions that people book together, like a six-week beginners' course. Clients pay one price and get a place on every session, whereas a class lets them book one date at a time. You go through a few short steps, and nothing goes on sale until the last one.
It helps to have your dates, your price for the whole course and the number of places to hand before you start. If you're not sure a course is the right type, see Choose the right type of event.
Put a six-week course on your booking page
- Go to BookingsCourses and choose New course. On a phone, Courses is in the More menu along the top of Bookings.
- Type the course's Name, such as "Six-week beginners' meditation". The page address is made from the name, and Change lets you set your own. Choose Continue.
- Under How are the sessions spread out?, choose Every week. On particular dates is selected to begin with, and that's for sessions that don't follow a pattern.
- Choose the day under Which days, then pick the First date.
- Set the Start time and the End time, which use the 24-hour clock. The end time fills in an hour after the start, so change it if your sessions are longer.
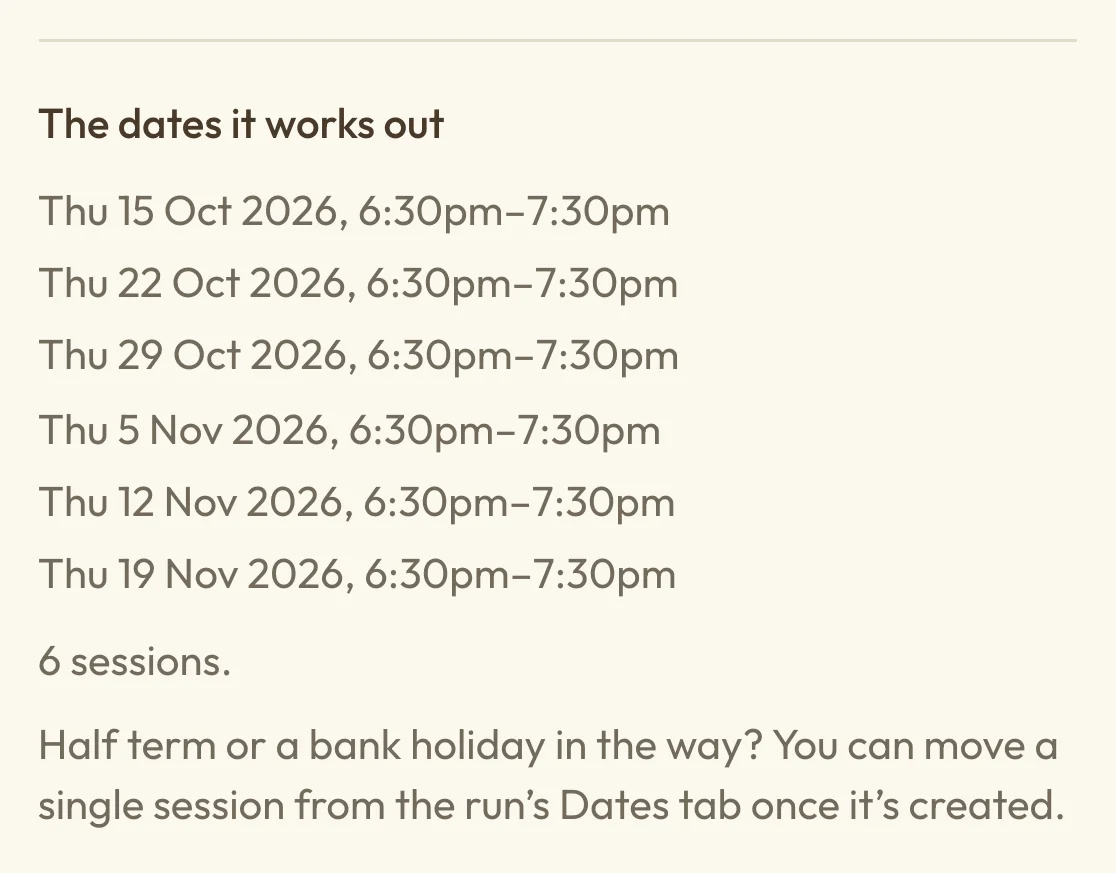
- Under How long does it run?, leave For at 6 sessions or type a different number. Read the list under The dates it works out to check every date suits you, then choose Continue.
- Choose how people take part. For a course in person, pick a venue under Venue or add one with New venue. For an online course, add your meeting link. Choose Continue.
- Choose Single price and type the price of the whole course under Price. Turn on Limit places if you have a limit, type the number under Places, and choose Continue.
- Add a Short introduction and a Picture if you have them, then choose Continue.
- Read the summary under Check it over, then choose Create and go live, or Save as a draft if you aren't ready for people to book.
 (opens the full-size picture in a new tab)
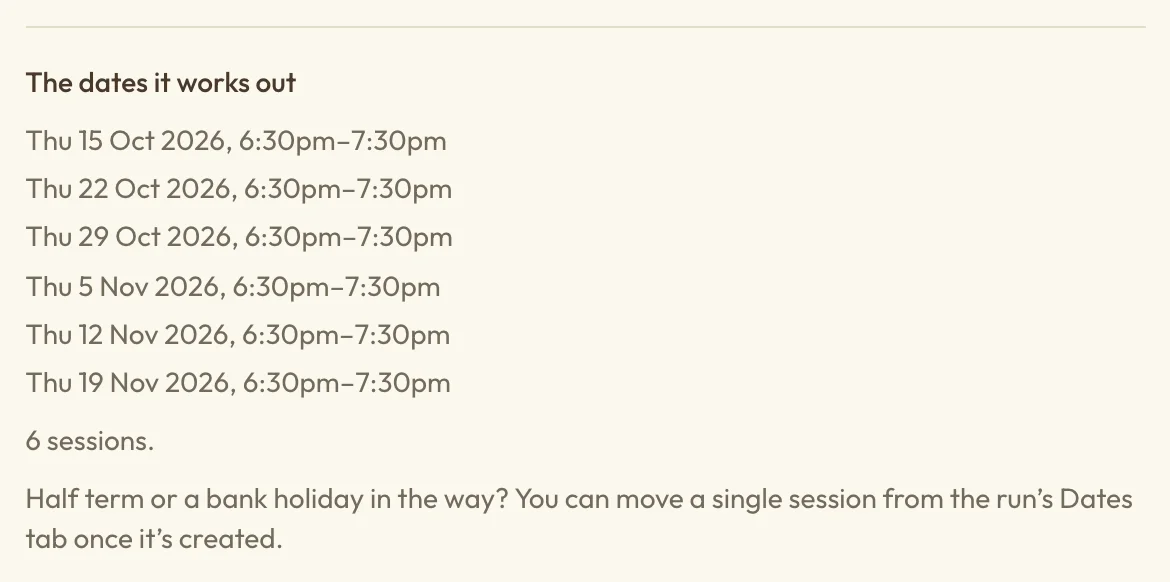 (opens the full-size picture in a new tab)Check the list of dates before you carry on.
If you leave partway through and come back on the same device, you might be asked whether to Continue draft or Start again.
What's the difference between a course and a class?
The main difference between a course and a class is how people book. A class is booked one date at a time, but people book a course once and that booking covers every session, so they can't choose which weeks to come to. The price you set is for the whole course. Bookings close when the first session starts, unless you've chosen an earlier time under Stop taking bookings.
Class passes can't be used to book a whole course. Memberships can't be used either unless you turn on People can use a membership, which you'll find under Passes and memberships on the Bookings step.
Each set of dates is called a run. Your first six weeks are the first run, and when you teach the course again you add another run rather than starting from scratch.
Choose the price and number of places for a course
The Price is what one person pays for all the sessions, so a £120 course shows on your booking page as "£120 for the course". If you'd rather not have one price, Ticket types gives people a few choices such as standard and concession, and Sliding scale lets them pick what they pay between a lowest and highest price you set.
Under When the places have gone, Start a waiting list means that if someone cancels, the next person on the list is offered the place and has a set time to take it. That's 24 hours unless you've changed it, which Manage waiting lists explains. Show it as full means people can't book or leave their name.
There's more on each of these in Set an event's price, places and booking rules.
Let people pay for a course in instalments
Instalments spread the cost of a course over several payments, with the first one taken when someone books. You can only tick this once your site can take card payments.
- On the Bookings step, find Payment under Your usual settings and choose Change.
- Select Choose payment options and tick Instalment plan. Leave Pay in full now ticked if you'd like people to have both choices.
- Under Plan setup, choose Split into equal payments, or one of the plans that starts with a deposit.
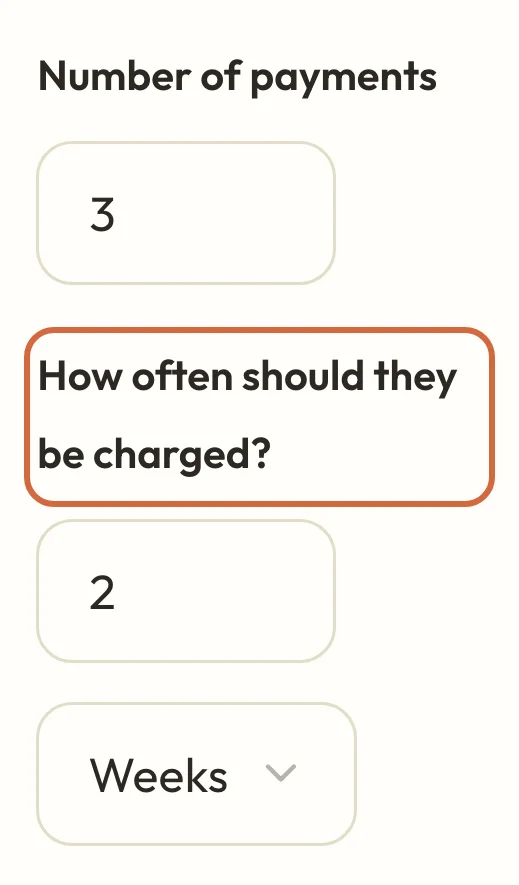
- Type the Number of payments, which includes the first one.
- Set How often should they be charged? This starts at every 1 day, so the second payment would be taken the day after booking unless you change it. Choose Weeks or Months for a longer gap.
 (opens the full-size picture in a new tab)
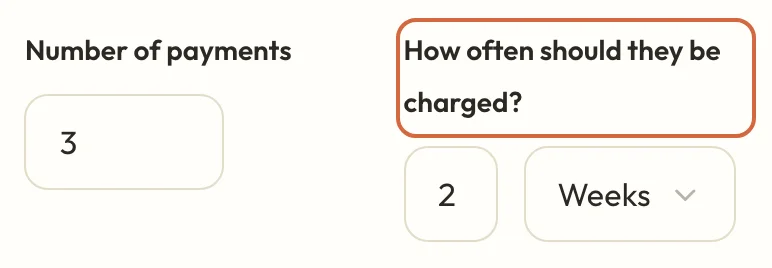 (opens the full-size picture in a new tab)Check how often people are charged, because it starts at every day.
With 3 payments every 2 weeks on a £120 course, clients choose between Pay in full now and Payment plan, which takes £40 today and £40 two and four weeks later.
To take a deposit and collect the rest in one go, tick Deposit now, pay the rest later instead. You can offer instalments or a deposit, but not both. Choose how customers pay goes through each kind of plan.
Why clients can't see your instalment plan
Clients only see a plan if every payment falls before the first session. The form mentions this rule, but it won't warn you if your plan doesn't fit. A plan of 3 monthly payments on a course eight weeks away won't appear at all. Clients then see any other payment options you've offered, or they're asked to pay in full if there aren't any.
The dates count from the day each person books, so a plan can also disappear as the course gets closer. With 3 payments every 2 weeks, someone booking less than four weeks before the first session won't be offered it.
To give people longer, set Last payment due before to The last session, and payments can carry on while the course runs. Bookings still close by the time the first session starts.
Check how your course looks to clients before you open bookings
Preview the page on a draft opens the course's page, but it says "No dates open right now", so you won't see the dates or price there. To go through the whole thing as a client would, put the course live without listing it:
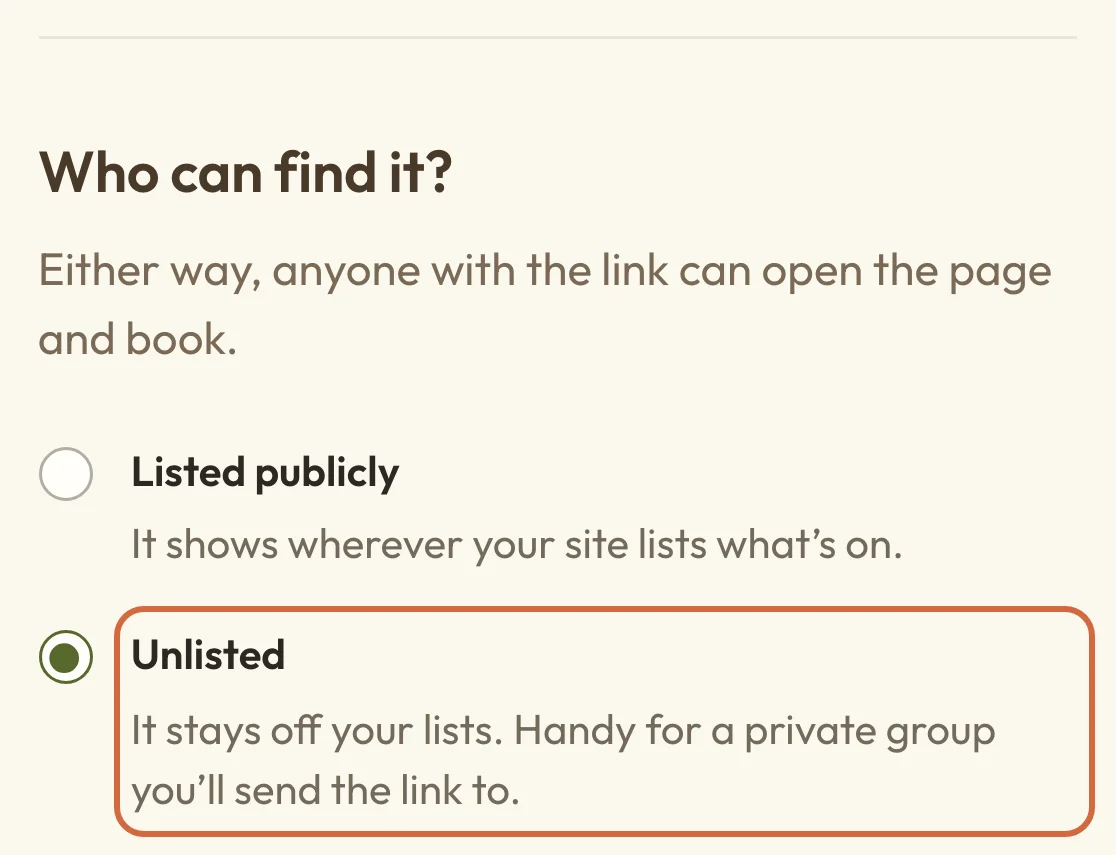
- On the Bookings step, under Who can find it?, choose Unlisted.
- Finish the steps and choose Create and go live, then View on your site.
- Check the dates, venue and price, then choose Book now and go as far as the payment step. Stop there, so you don't book a place.
- When you're happy, open the course from BookingsCourses and go to BookingsAll eventsBooking.
- Under Who can find it?, choose Listed publicly, then Save booking settings.
 (opens the full-size picture in a new tab)
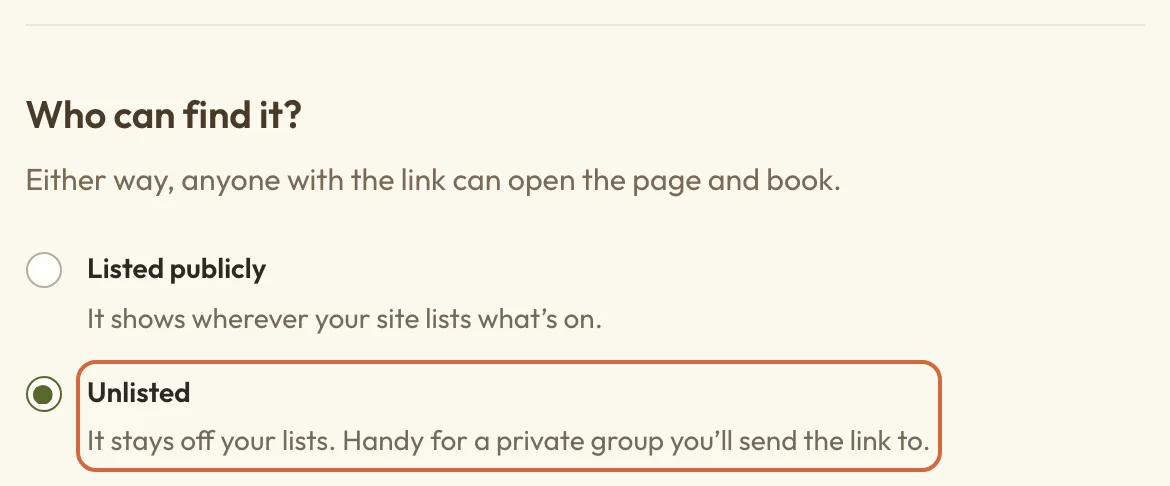 (opens the full-size picture in a new tab)An unlisted course stays off your booking page.
While it's unlisted, the course stays off your booking page, but anyone who has the link can book, so hold off sharing it until you've finished checking.
If you saved your course as a draft
A course saved with Save as a draft isn't on your booking page, and anyone opening its address sees a "Page not found" message.
When you're ready, choose Go live now on the page you see after saving, then Go live in the box that opens. If you've moved on from that page, Go live later shows you how to get back to it.
The same box has Announce it first, open bookings later, which puts the page online saying bookings open soon. That one takes effect as soon as you choose it. See Announce it before bookings open.
What clients see and get when they book a course
Once the course is live, it's on your booking page with its price, its first date and how many more sessions follow. Its own page lists every session and says that one booking covers them all.
Clients choose how many places they want, give their details and then pay. They get a confirmation email straight away. If your event reminders are switched on, they'll also get a reminder before each session, which goes out 24 hours ahead unless you've changed the timing for your site or for this run. Send clients reminders and follow-ups explains how.
To change the confirmation's wording, go to SettingsEmails and open When someone books a course or term, under When someone books. The wording is the same for all your courses. See Change the wording of your booking emails.
Move a course session for half term or a holiday
A weekly pattern doesn't skip holidays, so a course that runs through December might land on Christmas Eve. You can't leave a week out while you're adding the course, so create it first and then move that session. It's easiest to do this before anyone has booked.
- Open the course from BookingsCourses and go to Dates.
- Open the menu on the session and choose Reschedule.
- Pick the new date and time, then choose Reschedule session.
The course page shows the new date straight away. If your dates don't follow a pattern at all, choose On particular dates when you add the course and use Add session for each one. Change or cancel a course session covers cancelling a session and what booked clients are told.
Teach it again with new dates
When you're ready for another set of dates, open what you've already added and choose Add another run. Each run has its own dates, venue, price, places and list of who's coming, while the course page and booking rules are shared. See Add another run of a course.
Change or delete a course
You can change a course after you've added it. See Edit an event's details and booking settings.
If you added a course by mistake and nobody's booked it, open the menu beside the run's dates and choose Archive or delete the whole course…. Then open the menu at the top of the next page and choose Delete course, which can't be undone. If people have booked, see Cancel or reopen a course run so they're told and refunded. Cancel, archive or delete an event explains the difference between each option.